With Outlook for the Web, you can create meetings, appointments, and other events in your calendar, which you can also share with others. Additionally, you can create multiple calendars, share your calendar with other members of your organization, and much more.
Viewing Your Calendar
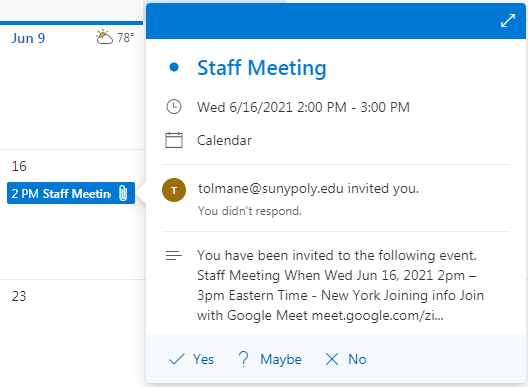
Hover over any event in your calendar to quickly preview the event's details.
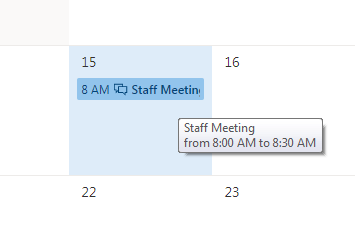
Click on the event to view its full details.
An event that you create will show you as the creator and include links to edit or delete the event.
A meeting that you’ve been invited to will show the organizer and include links to respond to the invitation. If the organizer includes an online meeting invitation, you’ll see a link to join the meeting.
There are a couple different calendar views available:

Day View: The day view is most useful if you have a busy schedule or if you want to view multiple schedules side by side.
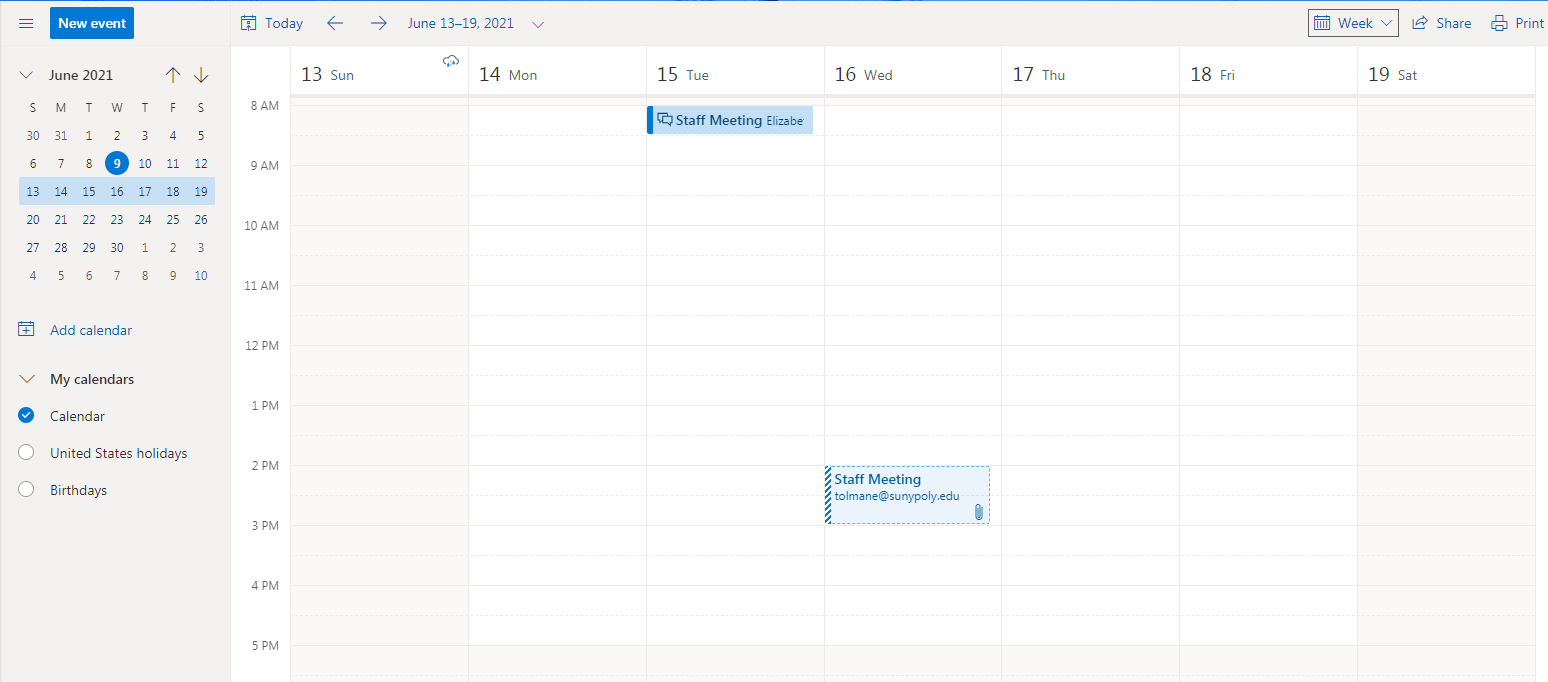
Week View: Week is the default view when you first visit your calendar in Outlook for the Web. You can change the default to day, work week, or month by clicking the dropdown in the upper-right corner.
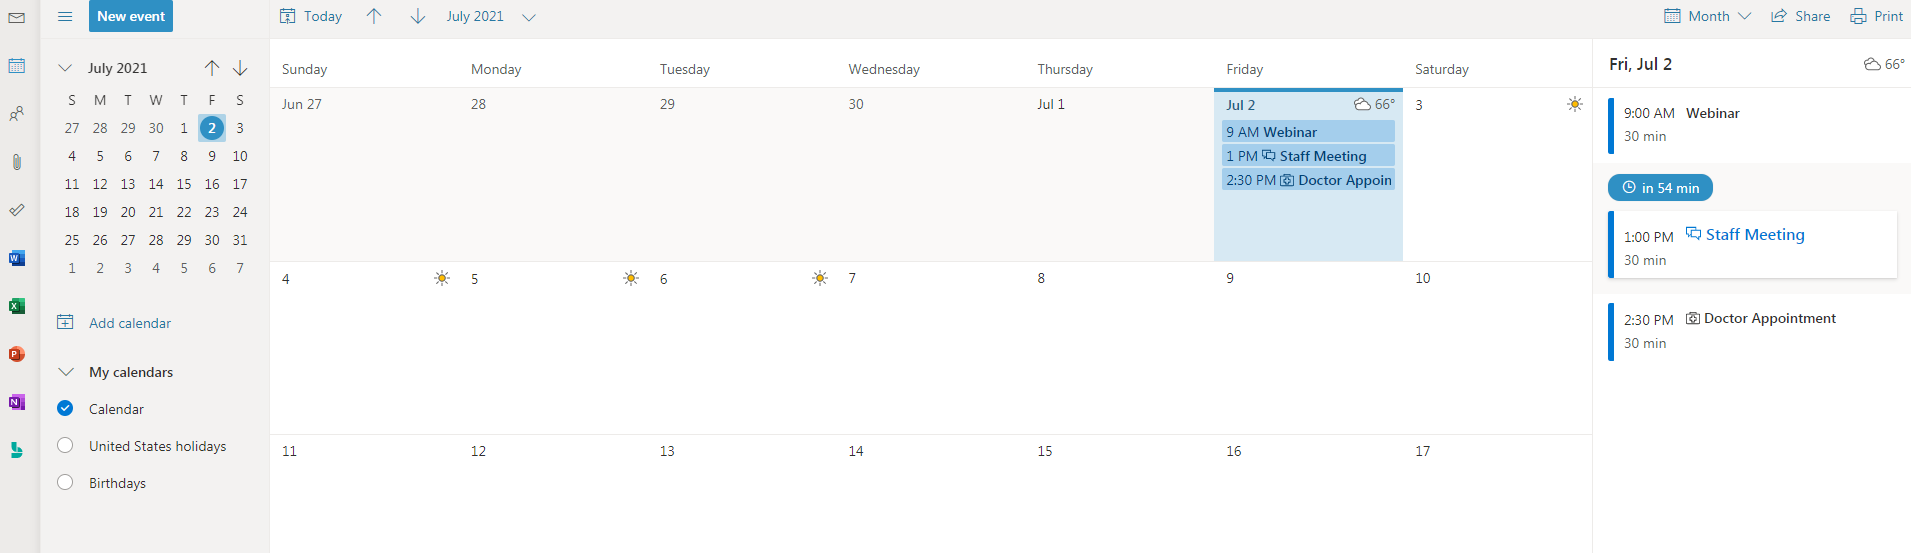
Month View: The month view can appear very crowded. To make it more usable, an agenda for the selected day is displayed in the sidebar.
How the Outlook calendar uses shading:
- Current date: Darker shading shows the current date.
- Month: Lighter shading shows the selected month.
- Day: Shading shows the selected day. The number in the lower-right corner for each day shows how many non-displayed items there are. Double-click or double-tap an item to open it. You can create a new event for any date by double-clicking or double-tapping on an open time slot.
- All-day event: A shaded item highlights an all day event.
- Agenda: The agenda for the selected day. You can create a new item on the current date by double-clicking or double-tapping an open time slot in the agenda.
New event: Click this to create a new event.
Calendar: Use the calendar in the folder pane on the left to browse between dates. Shading indicates the period you’re currently viewing, and darker shading marks the current date.
Tip: You can use the left or right arrows to collapse or expand the folder list in the left pane.
My calendars: You can view more than one calendar at a time. Under "my calendars," you can create other calendars, such as a calendar to use for a specific project or to track personal appointments. You also can add other people’s calendars and select which ones to display. If you choose to show multiple calendars, they will be merged into a single view and each calendar will be given a different color.
Day navigation bar: You can use this area to browse between days. Click any date to jump to it. You can also use the arrows on either end to view the dates before or after those displayed.
Main pane: Calendars are displayed in the main pane. To create a new appointment, double-click an open time slot on the desired day.
View options: Choose the view you want, and share or print your calendar.
Creating a Calendar Item
To create a new appointment or meeting request in any view, click "new event" or double-click/double-tap an open time slot on the desired day.
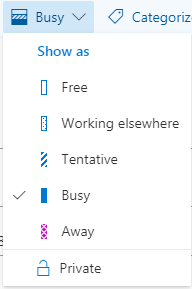
When you create a calendar event, it is best practice to set your status to "busy" for that event. This status indicates to others whether you are available during that time.
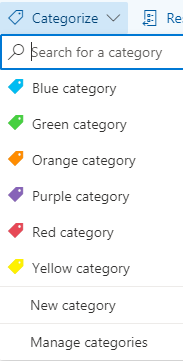
You can categorize your events by selecting the desired category from the category list. You can create new categories and edit existing categories.
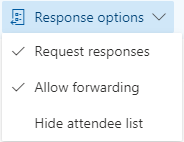
You can set the response options for a calendar event. By default, "request responses" is set to "on." Turning this off disables the recipient’s ability to respond or propose a new time.
You can also control whether the recipient can forward the invitation to others.
- Choose "new event" and enter a title and location.
- Choose a start time and duration, and adjust the time of the reminder notification if necessary.
- In the "show as" list, choose how you want your availability to appear on your calendar during that time: free, working elsewhere, tentative, busy, or away.
- Optional: You can make this a recurring appointment and also mark it as private.
- Optional: In the text box, enter any details for the appointment. You can use the formatting options in the toolbar above the text box to style the content.
- Click "save" when you're done.
A meeting is a calendar event that you send to other people. You create a meeting the same way as an appointment, but, you will also invite attendees and may add resources such as a conference room.
- Choose "new event" and enter a title and location.
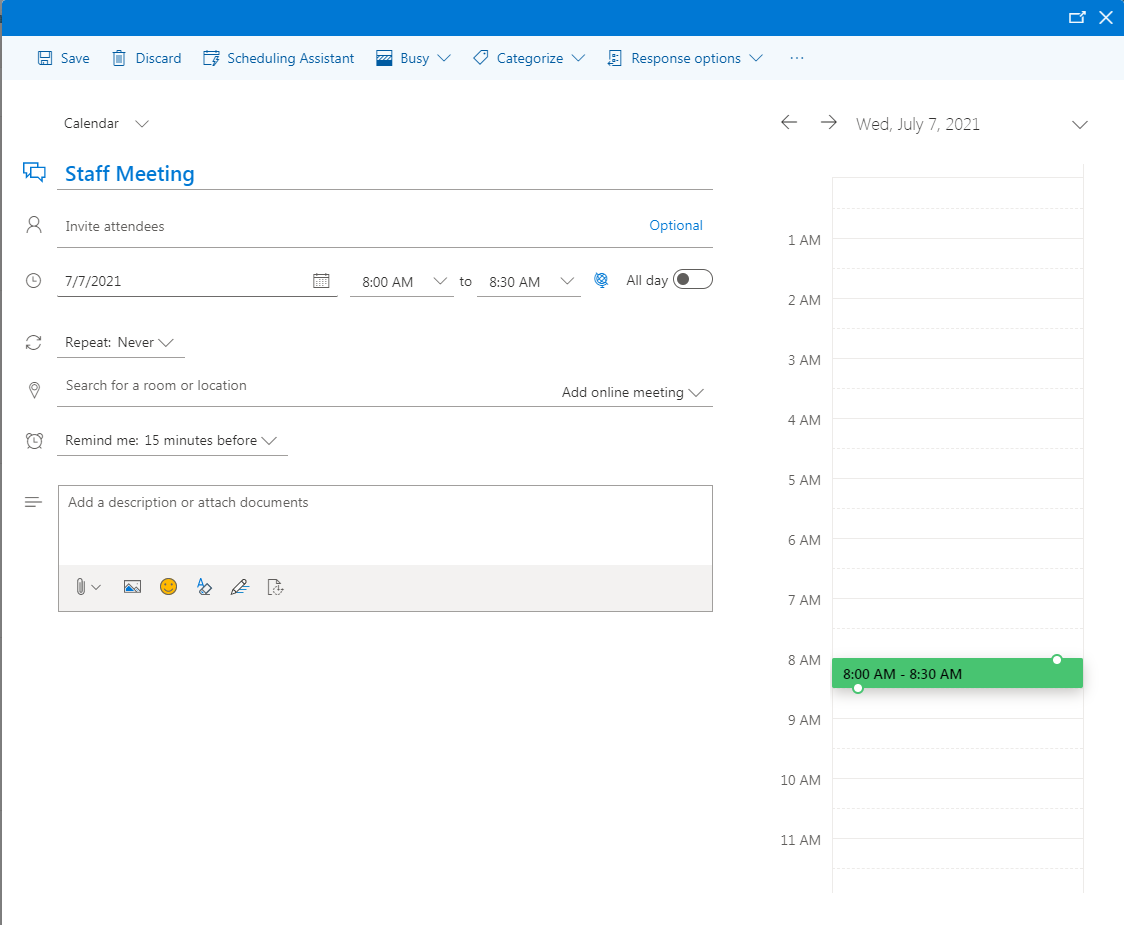
- Choose a start time and duration, and adjust the time of the reminder notification if necessary.
- Under "attendees," click the + symbol and select the people you want to invite from your contacts list.
Tip: You can use the scheduling assistant if you want to make sure everyone is available during the time you chose.
Using the Scheduling Assistant
By using the scheduling assistant, you will be able to view the calendars of all attendees to determine their availability—free or busy—for the date and time of an event.
The scheduling assistant can be used before or after you provide the event details. If you enter the date, time, duration, and attendees before opening the scheduling assistant, those details will be carried over and you can change them as needed.
To use the scheduling assistant, t the top of the event form, select "Scheduling Assistant."

Note: In the scheduling assistant, you can select attendees and a room and change the date and time of the event, but you can't change the event title.
- In the scheduling assistant, select "Add required attendee" or "Add optional attendee."
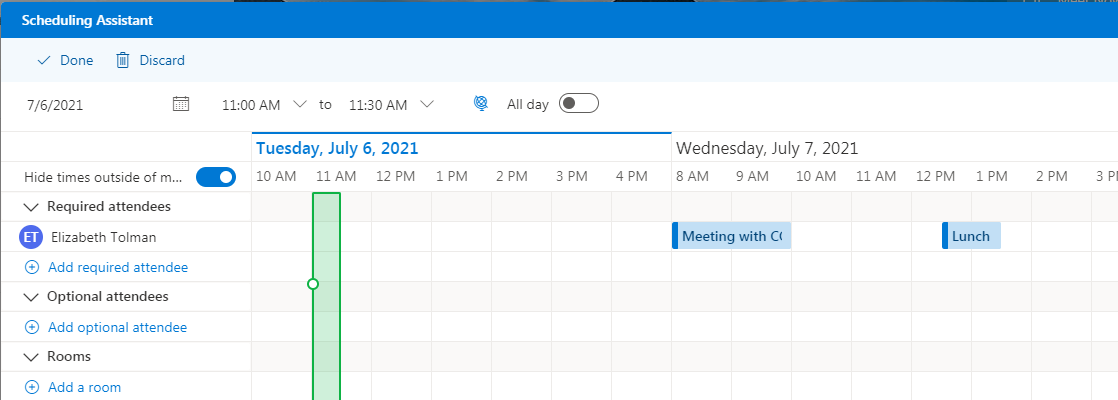
- Type the name or email address of the person you want to add and press "enter." The legend on the bottom of the scheduling assistant window shows the patterns for busy, tentative, away, working elsewhere, no information, and outside of meeting hours.
- In the scheduling assistant, select "Add a room."
- Choose a room from the list. You can change buildings by selecting the drop-down menu at the top of the list.
When you select a room list, the scheduling assistant will show the conference rooms and their availability.
As you add attendees and choose a location, the attendees' calendar information will appear in the calendar grid.
To choose an event date and time in the scheduling assistant:
- Select the date at the top of the scheduling assistant to choose a new date for your meeting. In the calendar, select the month or use the up or down arrows to change the month.
- Select the start time or end time to change when the meeting begins or ends.
- Use the scroll bar at the bottom of the scheduling assistant to view attendees' availability before or after the time you've selected.
- Alternately, you can select a date and time directly on the grid and resize the selection to change the duration of the event.
- Select "done" to save your changes and close the scheduling assistant.
- Optional: You can make this a recurring meeting by choosing an option in the repeat list. Select the "request responses" check box if you want participants to let you know whether they will attend the meeting.
- Optional: You can add a message for the meeting participants.
- Select "send" to send the meeting invitation.
Managing Calendar Events
- Select the event on your calendar to bring up the event callout and select "edit."
- Make the changes to the event on the details page and click "save" if it is an appointment or "send" if it is a meeting.
**Note: To edit a meeting request, you must be the person who created the meeting.
Select the event on your calendar to bring up the event callout and click "delete."
For an appointment: Click "delete" on the confirmation message that appears.
For a meeting that you set up: Right-click the item and select "cancel." If you want to add a note to the cancellation message that will be sent to attendees, select "edit" before sending. To cancel the meeting, select "send the cancellation now."
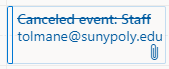
A cancelled event will be displayed in the calendar with a line through the title.
For a meeting you are invited to: Right-click the item, select "delete," and then select the appropriate option depending on whether you want to include a message in the meeting decline, send the response without a message, or not send a response at all.
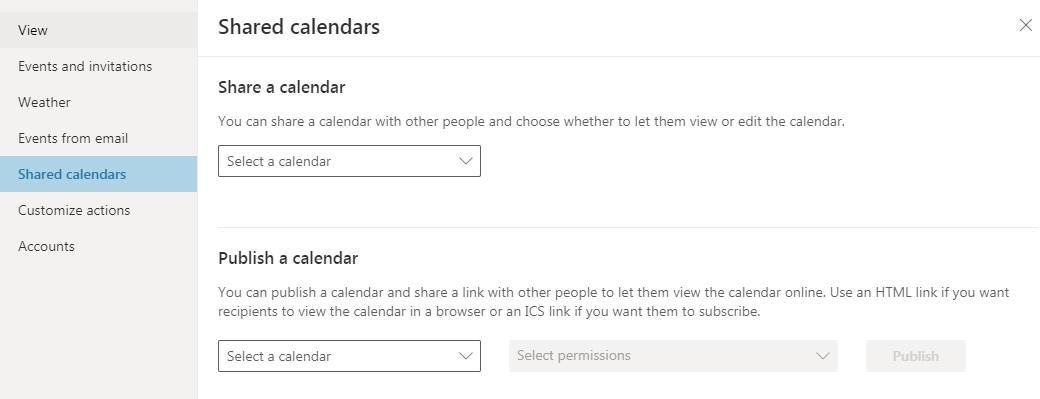
Sharing Your Calendar
You can easily share your calendar with other people in your organization.
- Start by clicking "share" at the top of the calendar window.

- Enter the name of the person you want to share your calendar with in the "share with" box. Outlook for the Web will automatically search your address book for the name you typed.
- After the person is found, they will automatically be added to the list of people that the calendar will be shared with. You can add as many people as you want.
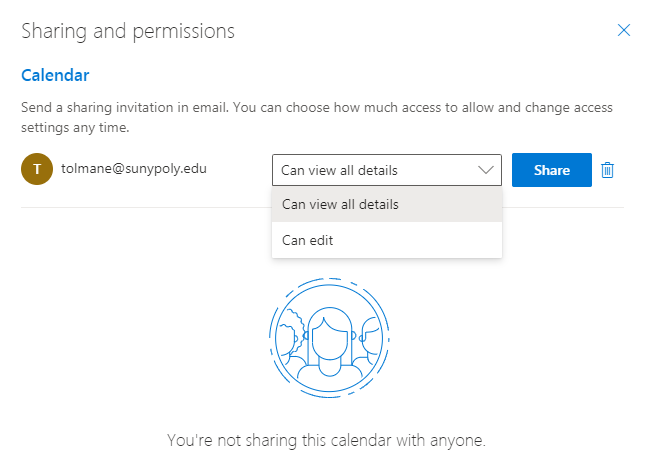
- Choose how much information you want to share.
- Full details lets the person see all the information about events (except those marked as private) on your calendar.
- Limited details shows the event's subject and location.
- Availability only shows that you have an event at a particular time, but no other details are provided. Private events are always shown as busy.
- Set the permission levels.
- You can grant members of your organization permission to edit your calendar by selecting "editor."
- To grant someone permission to send and respond to meeting requests on your behalf, select "delegate."
- Optional: Edit the subject
- If you have more than one calendar, select which one you want to share. Most people share their default calendar (named "calendar"), but you can share any calendar that’s part of your mailbox.
- After you’ve added everyone you want to share the calendar with and assigned permissions, click "send" to share the invitation or "discard" to cancel.
Calendar Settings
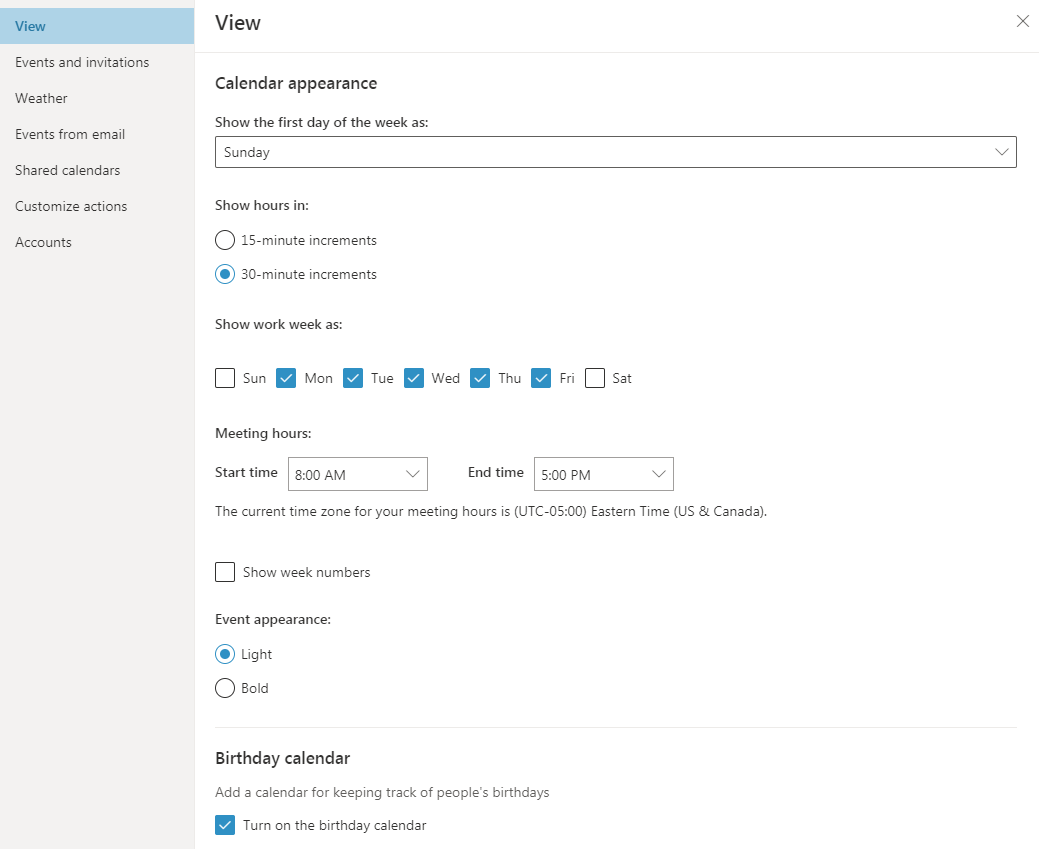
Outlook provides the ability to change how your calendar is displayed, including:
- Which day your week starts on
- The time increments that you want to schedule events for
- The days you want to see on your calendar
- The hours that you are available for meetings
- Whether to display events in light or dark colors
- Whether to enable or disable the birthday calendar
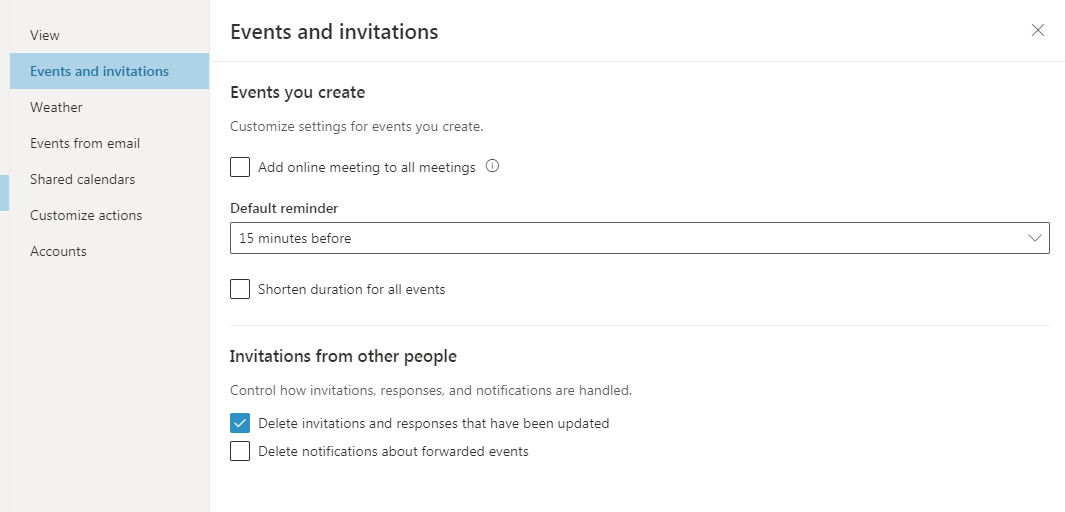
In the "Events and Invitations" settings, you can:
- Add a Team or Skype meeting to your event
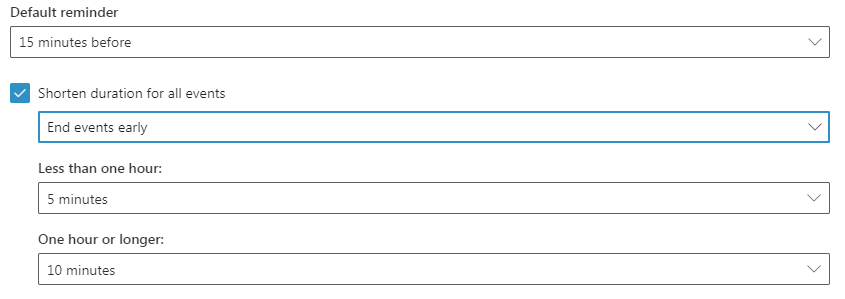
- Set the default reminder time
- Automatically remove out-of-date meeting requests and responses from your inbox
- Automatically move event forward notifications to the deleted items folder.
The shorten duration options allow you to end your events a few minutes early or start them a few minutes late. This can help you factor in travel time between events or add buffer time if other events run over. You can choose a different duration for events under one hour and over one hour.
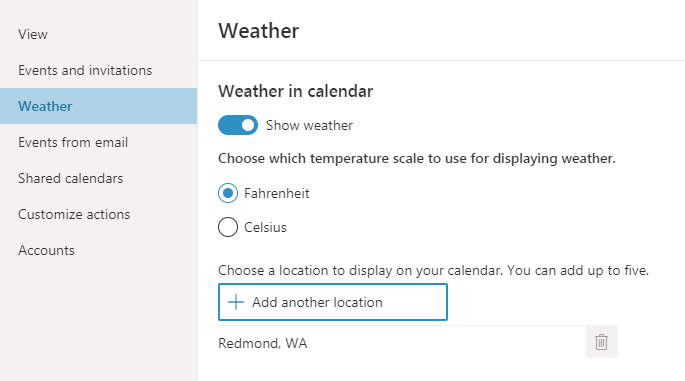
You can show or hide the weather in your calendar, select the desired temperature scale, and add additional locations to show the weather for in your calendar.
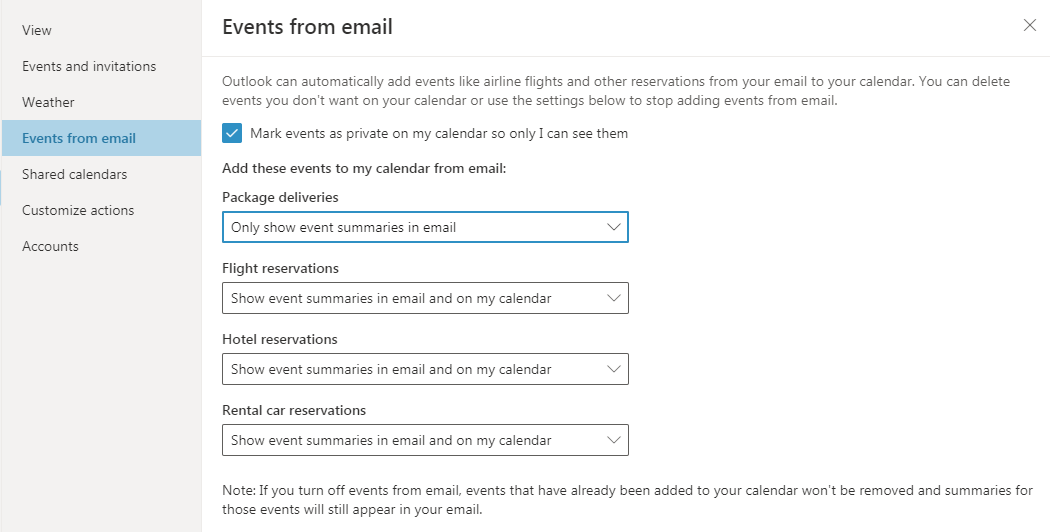
Outlook can automatically add events detected in your email messages to your calendar.